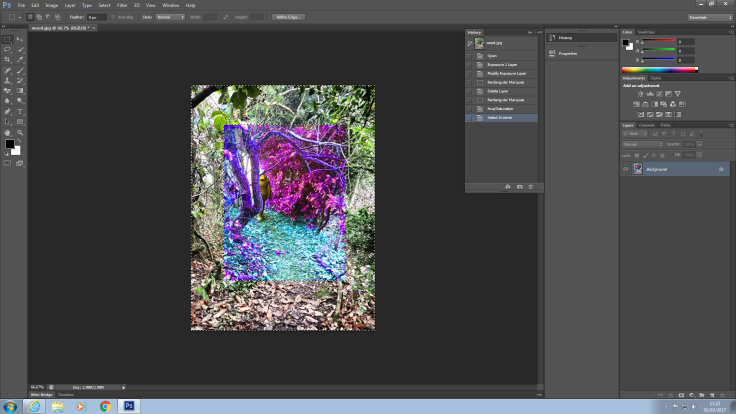
 I learnt the skill of using the History palette. It means if you want to go back a step it will take away the whole effect instantly without having to go back slowly using step backwards. We also used hue saturation; you can use this by using the rectangle tool to create a shape on the image and then go to image, adjustments, hue saturation. Once you have the saturation tab loaded, you can play around with the tools to create an effect on only the highlighted part of the image – as shown above only the area within the rectangle has been altered.
This is the skill of feathering. In order to feather an image you have to go to select and then modify, then to feather. Once you have selected feather you can type in a number ( the higher the number, the more the effect will be applied). Once you have typed in your number you then click ok. The image will then have a feathering effect applied.
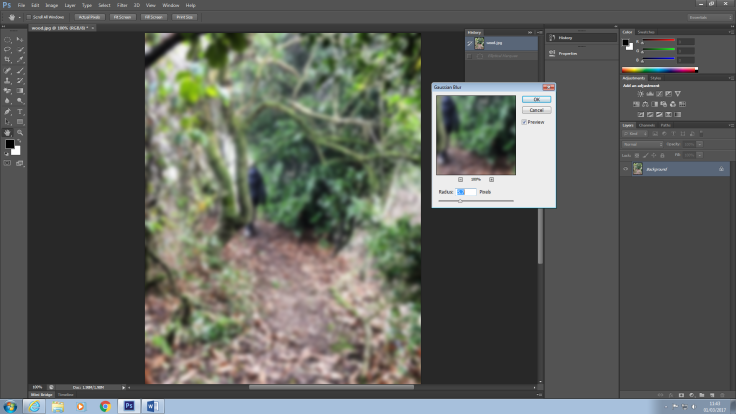
Next we learnt how to blur an image. You simply go to filter then to blur then to Gaussian blur. After you have selected Gaussian blur it will take to you the tab displayed above. You simply drag the arrow along the lines and then play around until you are happy with the image.
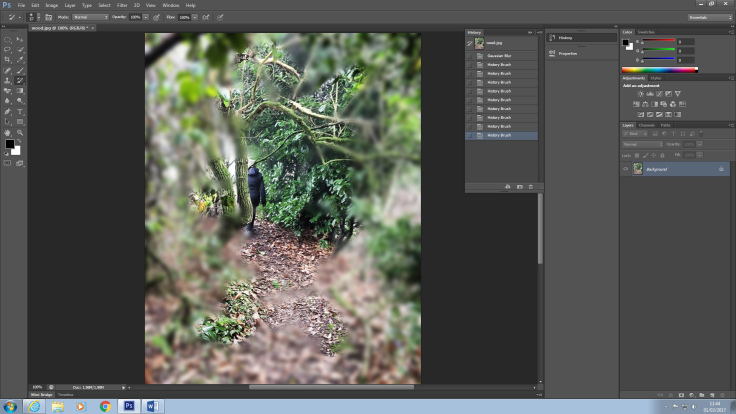
Next I learnt the history brush tool. You simply make sure the brush is turned on, on the history tab and then drag the history brush over the image; the image will reverse previous effects and appear as shown above.
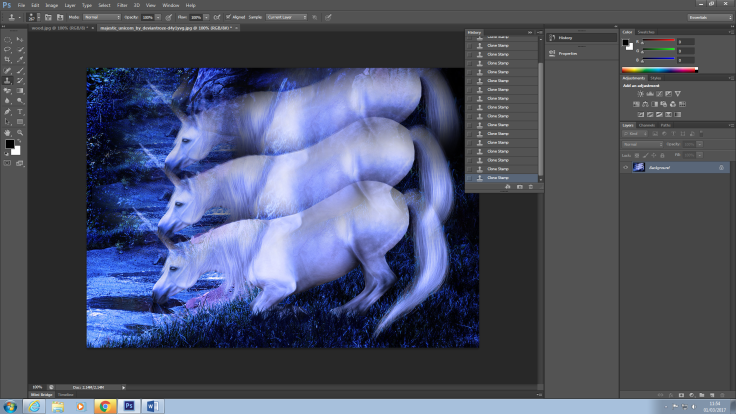
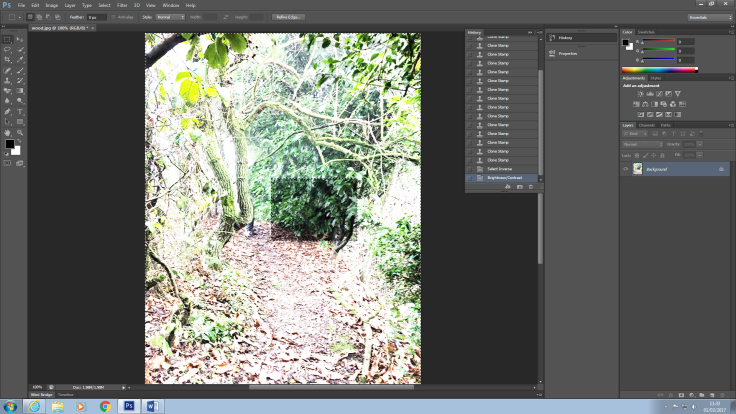
Next, I learnt the clone stamp tool. To use the tool you first select the area you want to clone whilst holding down ALT. You then simply click the area in which you want the clone to appear and then gradually form the clone. You can also play with the opacity to make the clone appear lighter, darker or shadowed.

March 10, 2017 at 2:24 pm
You can really see how effective images will add to the mood of your children’s book.
LikeLiked by 1 person