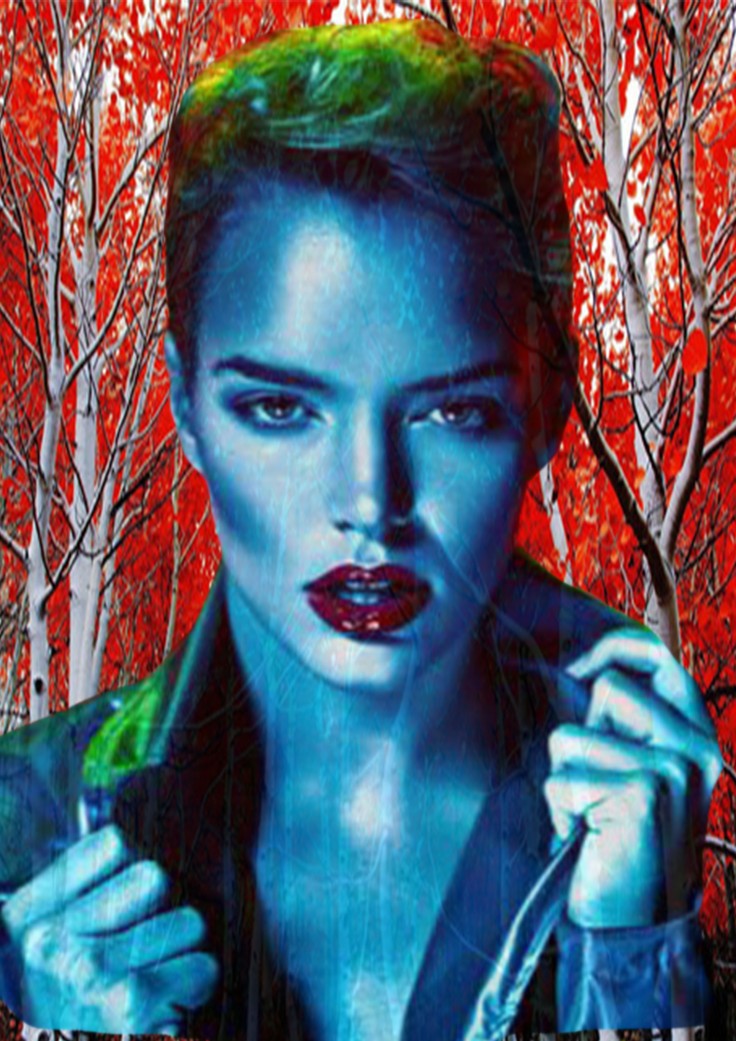
This was my final piece i created in Photoshop.
How to extract a background from an image
I learnt this skill during a session with Alma in which we used Photoshop skills to remove a background from our chosen image.
The image originally looked like this before I extracted the background.

The first step of extracting the background involves placing the image in Photoshop. I did this by creating a new piece on international paper in the Photoshop CS6.
Next, I placed the image into the Photoshop document. I did this by selecting File and then Place.
After this, I then selected the Magnetic Losso Tool in the left hand side bar. This tool is the third one down.
I then, placed the in the bottom left corner and then traced in around the person in the image. Once i had traced the entire person, i selected the Refine Edges tab above the image; this removed the background.
Leaving the refine edges tab still loaded, I selected the layer tab along the top tab and selected new. This then removed the background, leaving just the woman.
How to replace the background
I added a new background to my image by saving my chosen background image to my desktop.
Next, I went into the Photoshop programme and selected the file tab at the top bar and then selected place image. The image then appears behind the person and you drag it out, whilst holding the shift key, until it stretches across the entire page.
The background should then have been replaced. After i played with the blending options of the image until i was satisfied with the final result.
This was my final piece after I had replaced the background. I replaced the background with an image that had a forest with red trees.
How to achieve Overlay
I learnt how to achieve overlay in a few simple steps.
Firstly, I dragged the background layer to the top of the list of layers.
Next, I selected the tab above that was next to Opacity. I hoovered my mouse on this tab and a list of options appeared.
I then, scrolled down and selected the overlay option.
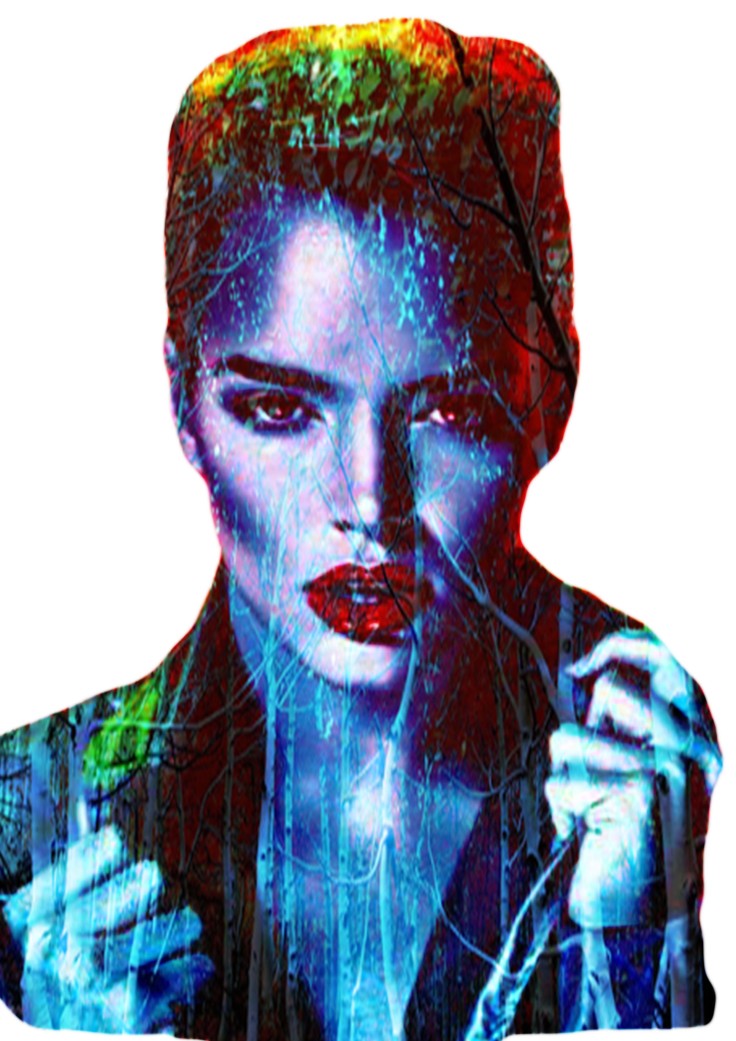
This was my final overlay piece.
References
Portrait Image- Pintrest, (No Date) Fashion Photography Red. (Available at: https://www.google.co.uk/search?q=portrait+photography&safe=strict&biw=1920&bih=974&source=lnms&tbm=isch&sa=X&sqi=2&ved=0ahUKEwiZw6Hu4pbQAhWE2hoKHcq0BtYQ_AUIBigB#q=fashion%20portrait%20photography&tbm=isch&tbs=rimg%3ACVY-6BpdrvL6Ijg4OnEvyqm5fut1ip9lj1YRMRpl0JvAgVe4vggYJJR5UKem-X3QD1adqQWKxlpAIUaTtCGBTdGdlyoSCTg6cS_1Kqbl-ET5YdtRUE-CBKhIJ63WKn2WPVhER1McTJbx_1faQqEgkxGmXQm8CBVxFVEr4TWwNmVioSCbi-CBgklHlQEX6g97se3mAUKhIJp6b5fdAPVp0R4RQkmeKAlGsqEgmpBYrGWkAhRhGQPcYRBhfuAioSCZO0IYFN0Z2XEaqbtA7E-4xB&safe=strict&imgrc=OpYn8DfXRC9vnM%3A) (Date Accessed: 7th November 2016)
Background image- Tumblr, (No Date) Red and White Trees. (Available at: https://www.google.co.uk/search?q=portrait+photography&safe=strict&biw=1920&bih=974&source=lnms&tbm=isch&sa=X&sqi=2&ved=0ahUKEwiZw6Hu4pbQAhWE2hoKHcq0BtYQ_AUIBigB#safe=strict&tbm=isch&q=trees+tumblr&imgrc=tYBxQUKU_Cx7eM%3A) (Date Accessed: 7th November 2016)

Leave a comment